Showing posts with label Nuts and Seeds. Show all posts

Monday, April 25, 2011

Collard Leaf-Wrapped Herb Rice with Radish Tzatziki, or "Pseudolmades"


Spring greens, aka collard greens, are everywhere now, and both Tesco and Asda are selling huge bags for 50 pence. I found myself with yet another bag of these leafy vegetables because I cannot resist a cheap deal. Keeping a lookout for what's on offer and what's in season is also one of my best ways to stay within my real food student budget. After too many consecutive meals of spring greens thrown into all my soups and broths or into all sorts of stirfries, I wanted something different, and this recipe came to mind.

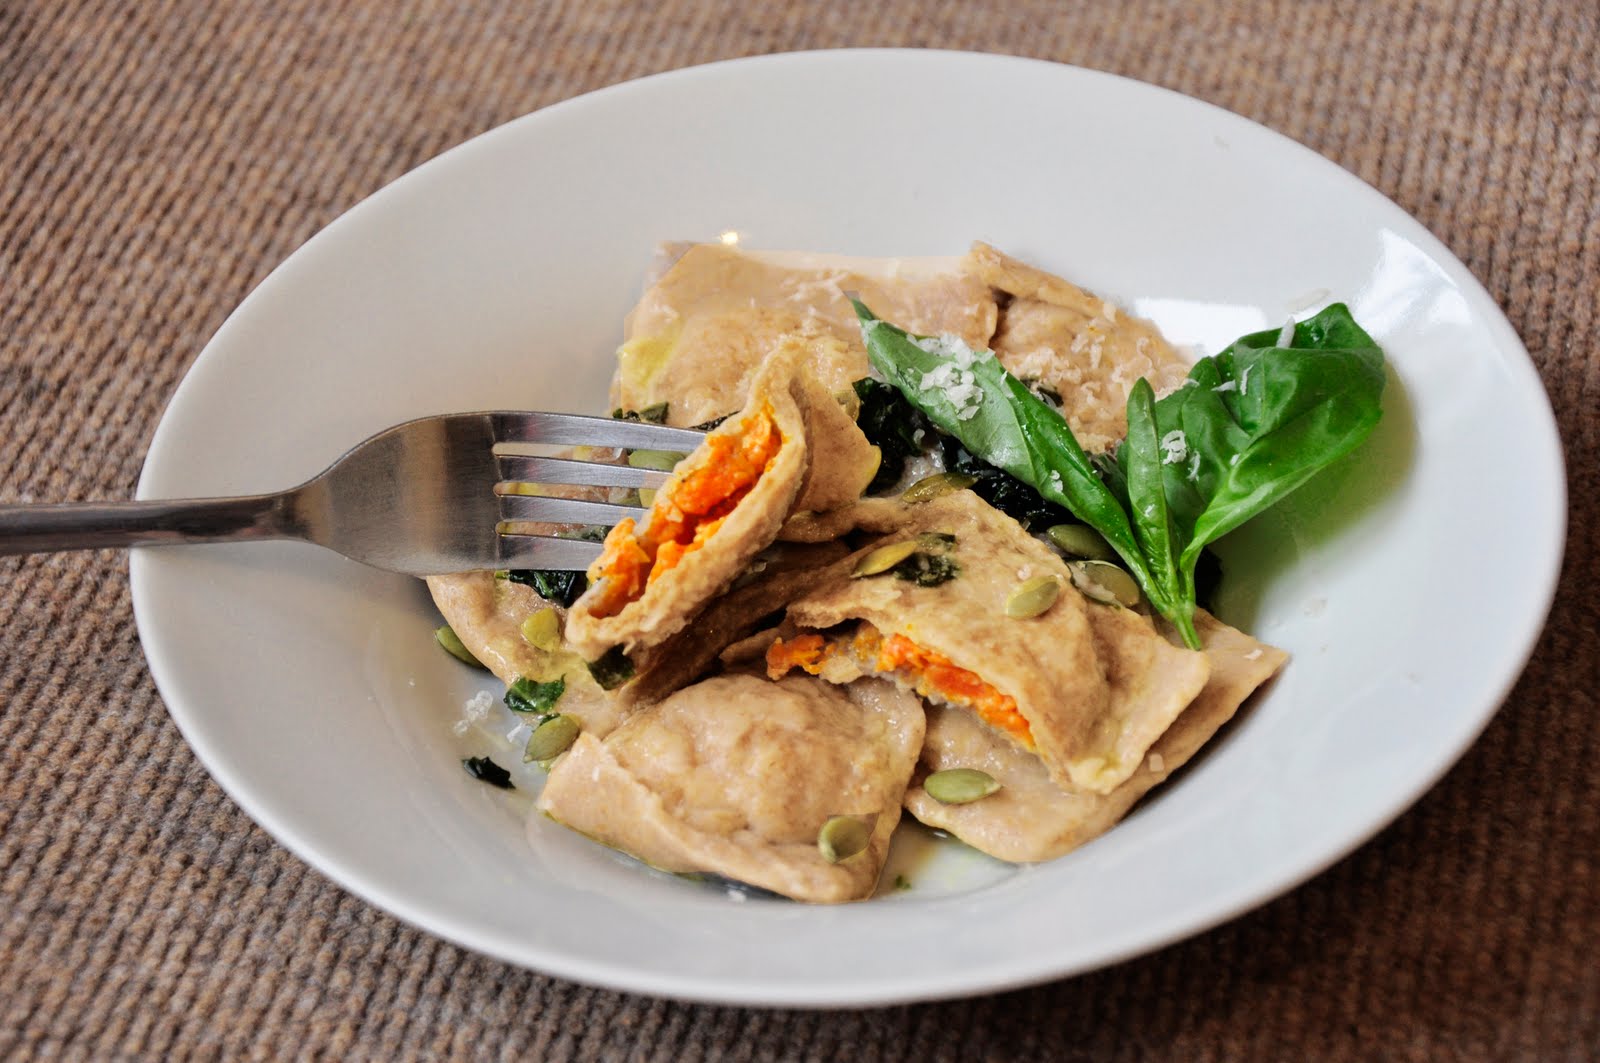
Dolmades are Greek parcels of rice wrapped with grape leaves or vine leaves, and there are loads of different varieties. I could have done this with some minced meat in the rice mixture too, or extra diced vegetables, but I really wanted it simple for the zesty spring herbs (that I freshly 'harvested' from my windowsill garden) to shine through. I liked them instantly when I first tasted them because they reminded me of dish from home- Chinese lotus-leaf wrapped rice 荷叶饭 loh mai kai- but now with an edible wrapper! It's hard to come across vine leaves, so collard greens, with their huge tough leaves, are a great alternative, i.e. pseudolmades (creative rights go to the real food dudes).

Pseudolmades
makes 8 parcels
8 large collard leaves
1/3 cup brown long-grain rice, soaked (plus 1/2 cup water)
3-4 spring onions, white parts, chopped finely
2 cloves garlic, chopped finely
handful of currants (or sultanas or preferred dried fruit)
handful of pumpkin seeds, soaked and dehydrated or toasted (originally pine nuts, but they're expensive)
handful of chopped coriander and mint leaves
juice and zest of half a lemon
sea salt and pepper, to taste
1 tbsp extra virgin olive oil

Method
1. Saute the onion and garlic in 1 tbsp of evoo, then add the rice, currants and pumpkin seeds to toast for 2 min more. Add the water, season, bring to boil and then let simmer till cooked.
2. Add the chopped herbs and lemon juice and zest to the cooked rice mixture.
3. Steam or blanch the collard leaves in boiling water for 5-10 min so you get cooked, flexible leaves that you can work with easily.
4. De-stem the leaves.

5. A picture speaks a thousand words, so 4 should be more than enough.

(Originally you would stuff the vine leaves with uncooked rice and then let them cook inside the vine leaves, but I think the collard leaves will turn to mush by then.)

5. You can eat them cold as an appetiser or warm, by steaming the parcels.


Ok now for the tzatziki, totally optional but you must do it.

Tzatziki is a great mediterranean dip that's really refreshing and easy to make! It kind of remindsme of Indian raita too, which is also basically yogurt and cucumber. I added radish too as it's in season and it adds a bit of pepperiness, you can cut it out and add more cucumber!


Radish Tzatziki
Ingredients
1 1/2 cup plain yogurt
1/2 cucumber, peeled, deseeded and minced
2-3 radishes, minced
4 cloves garlic, minced
handful of chopped mint (or dill)
juice of half a lemon
extra virgin olive oil

Method
1. To make greek yogurt, just strain the yogurt for a few hours till you get a thick creamy consistency. I use Yeo Valley organic yogurt, which is so creamy it's almost greek-like in consistency already so I skip this step.
2. Mix all the ingredients together, and refrigerate for half an hour or so for the flavours to meld.

This is great with toasted pita bread or as a dip for all sorts of things or even to accompany poached fish!


I served my dolmades with lemon slices and tzatziki spooned over generously. Together, they form a great dish that makes use of all that spring has to offer: collard greens, cucumber, radish, spring onions, lemons and fresh herbs like mint and coriander! How's this for a super springtime meal!

This is part of Hearth and Soul Blog Hop.

Wednesday, March 9, 2011

Singapore Peanut Pancakes (Mee Jian Kuih), Sourdough-style


Yesterday was National Pancake Day in the UK! I love all these silly pancake days and apple days that I never got in Singapore.

In honour of this special day, all the supermarkets were having sales on things like self-raising flour and maple syrup, but when I think pancakes, the first thing that pops into mind are these peanut pancakes that my mum will buy fresh from the local market for breakfasts. Unlike western pancakes, they are folded over, kind of like a sandwich. There are two versions, thin and crispy, or thicker and spongy, and they will have brittle delicate edges. My favourite filling is the original one-- crushed roasted peanuts (not peanut butter!) with sugar and butter, although it's also very common to find them filled with sweet red bean paste (Chinese/Japanese style), or sweetened coconut flakes, or (tsk.) chocolate/Nutella.

I decided to adapt a recipe for sourdough pancakes to make these. There are some very good sourdough pancakes recipes, like this one by the Nourishing Gourmet, but they mostly needed some planning ahead. This one just made use of my starter, which sounded perfect because I wanted my pancakes NOW. My previous try with this recipe made a pancake that was really crumbly, almost like a biscuit, and really salty, so I made quite a few adaptations, after comparing it with the recipes for the non-sourdough pancakes.

Singapore Peanut Pancakes (Mee Jian Kuih), Sourdough-style
will yield 4 wedges (2 -4 servings)
Ingredients
1 cup sourdough starter
1 egg
1 tbsp melted butter or coconut oil (or evoo, if you don't mind that strong olive note in your pancakes...)
1/2 tsp natural vanilla essence
1 tsp of my make-ahead pancake mix (see below)

My Make-ahead Pancake Mix
You can make a larger mix, and keep it in your pantry for fuss-free pancakes on lazy Sunday mornings.
1 part baking soda
3 parts baking powder
5 parts raw cane sugar Rapadura

Peanut Filling
I made mine a "deluxe" version with added crushed walnuts(:
1/4 cup walnuts, soaked and dehydrated
2-3 tbsp raw cane sugar Rapadura
2 tsps of salted butter


Method
1. Toast the nuts over medium high heat, then grind coarsely or just crush the rustic way. Mix with the sugar and set aside.


2. Heat a 9" flat pan over medium heat. Grease.
3. Whisk all the ingredients together well, making sure that you don't get lumps of pancake mix here and there.
4. Add in the sourdough starter and then whisk again, for no more than 30 seconds, and pour in the batter.
5. Roll the pan around so the batter gets evenly distributed. Some of the batter will just run over the sides of the pan a little, and that's how you get that thin crispy edge! This obviously won't work with a too large pan.


5. When the pancake is almost cooked. sprinkle the peanut filling over half of the top and dot with butter.
6. When pancake is fully cooked, flip the empty side over into a half-moon, leave for 1-2 min more than dish out.


7. Cut into 4 wedges. Or if you do this in batches in a small pan, just serve them as half-moon sandwiches!


Oh, biting into the crisp edges and soft doughiness of these pancake "sandwiches" really bring a sense of nostalgia. The aroma of those roasted nuts, together with the sweet raw cane sugar and the salty butter against the new hint of tanginess introduced by the sourdough, is pure joy. Pure joy also, is having the filling fall out all over your plate and frantically scooping them up with your hands and into your mouth, so do be a bit over-generous with yourself (:

If you don't like the idea of a sourdough mee jian kueh, but want to up the nutrition of your pancakes anyway by using wholegrain flour, you could try going ahead with the original recipe. Minus the eggs and leavening agents and add a small amount of yogurt or vinegar then leave the batter to soak overnight first, like at Heavenly Homemakers. I want to try this out, adding the rice flour as recommended by My Kitchen Snippets, which probably will help the pancake be a bit more chewy and springy. Check for future updates ;)

Thursday, February 24, 2011

Celeriac and Halzelnut Soup


Celeriac. Must be THE ugliest vegetable I've ever seen. Just look at its knobbly and twisted surface; it's no wonder most people avoid it. But peel away (actually more like cut. it's got really thick skin) the outer layers, and you have a beautiful cream-coloured inside,that gives off a sweet nutty smell and flavour, a bit celery-like but much milder and without the fibrous texture.


Anyway, I picked this thing up because I like to get the odd vegetables at the Farmers' Markets. There's not much fun in getting something you can see in the supermarkets anyway, is there? When I don't know what to do with a new root vegetable, there are 2 fail-safe ways I usually turn to: roasting, or turning it into soup.

Celeriac and Hazelnut Soup
serves 2-4
Ingredients
1 medium celeriac, peeled and chopped
1 medium potato, peeled and chopped
1 small onion, peeled and diced
small handful of hazelnuts, soaked overnight and skin-off
2 cups vegetable stock
about 1/3 cup whole milk (raw)
sea salt and black pepper to taste (about 1/2-1 tsp)
1 tbsp evoo + 1 tbsp butter

To serve
fresh parsley
couple of hazelnuts, lightly toasted

Method
1. Over medium heat, sweat the onions in the evoo and butter, till translucent
2. Add the celeriac, potato and hazelnuts, and saute for 5 min more.
3. Add the vegetable stock and seasoning, bring to a boil, and simmer for about 20-30 minutes (depends how big you chopped the vegetables), or till they're all soft.
4. Remove from heat, and blend, adding in the milk till you get a smooth creamy consistency.
5. Meanwhile, lightly toast a couple of hazelnuts (skinless) over medium high heat in a dry pan.
6. Check soup to adjust the seasoning if necessary, before serving with the toasted hazelnuts and parsley for some freshness!

Garnish with the lightly toasted hazelnuts. (to both add crunch and to hint to the person drinking the soup that there's a secret ingredient inside!)

This soup is really velvety and smooth, with that mild, sweet nuttiness coming from both the celeriac and the hazelnuts. I just love that pretty cream colour too. Funny how a while ago I just said it's the ugliest vegetable ever.

By the way, I saw spinach at the Farmers' Market! Could it be...... spring is coming!

This is part of Weekend Herb Blogging.

Friday, January 28, 2011

Baked Apples with Cinnamon Nuts and Raisins


I don't often do desserts because it's hard to avoid all the sugar. When I do make desserts though, I try to make sure the sweetness comes naturally from fruits. This is a very very easy pudding, and one that satisfies both your sweet tooth and conscience!

Baked Apples with Cinnamon Nuts and Raisins
serves 2
Ingredients
2 Bramley apples (both a good eating and cooking apple and will end up sweet, light and fluffy inside)
a handful of chopped almonds, walnuts and pumpkin seeds (soaked and dried please! use any you fancy. pecans would be nice.)
1 tsp of raisins (if you want to jazz it up a bit, soak your raisins in rum or brandy for a couple of hours before)
1-2 tsp of brown sugar (I used raw cane sugar Rapadura)
a generous pinch of cinnamon
few dabs of butter

To serve
Plain Greek yogurt (or some raw cream or homemade custard)

Method
1. Pre-heat the oven to 200 degrees celsius.
2. Remove the core of the apples. I did it by cutting a square around the core of the apples, but stabbing my knife in at an angle, but if you have a fancy apple corer use that!
3. Mix the nuts, raisins, sugar and cinnamon together, before stuffing the mixture into the apple holes, and adding a happy dab of butter over.
4. Place the stuffed apples into an ovenproof dish, and pour some water around the apples so they don't dry out.
5. Bake for about 45 min until the apples are soft and oozing, but not collapsing. Serve with a dollop of yogurt and the apple juices spooned over.

6. Dig your spoon into it and have all the warm sweet apple juices flow out, mixed with that buttery toffee-ishness, and the crunch of the toasted caramelised nuts, and then on top of that, you have your creamy tangy yogurt. And then on top of all that, you have the reassuring knowledge that it's not loaded with the things that make a dessert sinful (:

Sunday, December 26, 2010

Pumpkin Ravioli with Basil Browned Butter


So I went crazy one fine day making pasta with my , and pumpkin ravioli was one of the results. This dish is inspired by Rick Stein's pumpkin ravioli with sage butter. Pumpkin has a mild sweetness to it, which when mixed up with some salty savoury parmesan, hits all the right buttons! I used basil instead because 1. I couldn't find sage at Tesco Metro, 2. My ravioli's rolled out too thick so it's kind of dense and hearty so I needed a herb that's.. lighter? and fresher than sage 3. Basil's great with roasted sweet vegetables. I topped it off with toasted pumpkin seeds for that added texture, plus I just like that you're using the whole vegetable, even though I confess I just used pumpkin seeds from my pantry.

Pumpkin Ravioli with Basil Browned Butter
serves 2

Ingredients
For the pasta dough, check out my homemade sourdough pasta post.
You'll need 1/2 of the dough from that entry. Maybe 1/3 if you roll it out thinner.

For the ravioli stuffing,
1/2 cup mashed/pureed roasted (or you can steam) pumpkin
1-2 tbsp grated parmesan
1 (med) egg yolk
pinch of sea salt, black pepper, nutmeg, dried basil

For the basil browned butter,
2 tablespoons butter
handful of basil, shredded

To garnish,
handful of pumpkin seeds, lightly toasted
few basil leaves

Method
1. Mix the stuffing ingredients

2. Place a teaspoon (don't be greedy and stuff too much) of the stuffing about every 5cm away.
3. In between each teaspoon of stuffing, wet (estimate the halfway mark) the dough with water/egg wash. Put another rectangular layer of dough over to seal (press around the stuffing). Cut with pizza cutter if you have one, or just go rustic ;) Leave to dry for 1/2 hour or so.
Please check out my homemade sourdough pasta post for a clearer picture. There are photos!
4. Cook the ravioli in gently boiling salted water, about 3-4 min.
5. While the ravioli is cooking, melt the butter in a saucepan, with the shredded basil leaves and a pinch of salt,

until it foams and browns (careful don't burn!)
6. Plate up drained pasta, pour butter sauce over, top with grated Parmesan cheese, the toasted pumpkin seeds, and garnish with the fresh basil leaves. Enjoy!


Next time, I would try rolling out my dough much thinner, (and hence try out the sage butter? I've not tried deep fried sage leaves before) but for now, I'm happy(:

This is an entry for Presto Pasta Nights hosted by Tastes of Home.

Saturday, December 25, 2010

Moroccan Quinoa Stuffed Chicken Breast wrapped in Bacon


'Tis the jolly season, but for me, it's when I start missing home and my family. We don't traditionally celebrate Christmas anyway (but wait till Chinese New Year. that's when we go all out with the festive goodies!), but my sister's born on the 25th December, lucky her, so we still have some kind of a family celebration in the form of food. What else is miserable about Christmas is I haven't got a whole party of people at your house, so I don't have an excuse to buy a whole turkey to stuff and roast. Then again, I'm a secret introvert, so I was perfectly contented stuffing a chicken breast instead.

Although I say Moroccan, I've got cured pork, roast bird, cinnamon, ginger, nuts and sweet dried fruit... Merry Christmas!

Moroccan Quinoa Stuffed Chicken Breast wrapped in Bacon
Ingredients
serves 2
2 chicken breasts, skinless
4 slices of bacon (or if you've got deeper pockets, try parma ham or pancetta)
pinch of salt, black pepper
extra virgin olive oil

For the stuffing
2/3 cup cooked quinoa
1 tbsp raisins
1 tbsp chopped dates
1 tbsp chopped toasted almonds
pinch each of cinnamon, cumin, turmeric, ginger
zest of 1/2 a lemon
1 egg yolk

For the dressing
Equal amounts of
extra virgin olive oil
balsamic vinegar
(a white sauce would be nice usually, but not with the Moroccan-style stuffing; balsamic vinegar adds a bit of sharpness to the dish. plus sweetness. plus it's easier haha)

Method
1. Preheat the oven to 180 degrees celsius.
2. Mix the stuffing ingredients together and set aside.
3. Lay the chicken breasts flat on the chopping board, and then cut a slit across the chicken breast through the centre, but don't cut through fully, so you can open it up (i.e. butterfly).
4. Place clingfilm over and pound so you get them flatter and.. wider. It looks like an open book now.
5. Flip over, so now the chicken breasts are on top of the clingfilm. Season both sides with salt and pepper.
6. Place half the stuffing on one side of the "book" for each chicken breast. Roll the other half of the "book" over so you kind of get a..swiss roll/ wrap?

7. (opt) Chill in the fridge for half hour or even longer to firm up.
8. Remove clingfilm, and wrap 2 slices of bacon around each chicken breast. The bacon helps to hold it in place also.

9. Put into the oven and bake for about 40 min, or till juices run clear.
10. Leave to rest for a while, before cutting up into pretty circles or you can also leave it as it is. Drizzle some evoo and balsamic vinegar over, and garnish with parsley.


The bacon is a must! It helps the lean chicken breast meat stay juicy, and flavour-wise, it adds all the right contrasts. Salty bacon v.s. sweet raisins and spiced quinoa. Crispy bacon and cunchy almonds v.s. tender chicken. Ho ho ho!