Sunday, September 12, 2010

Football Food

With the official start to the football season today, I made some delish food to go along with the game. Both recipes are linked in my Recipe of the Week page. 

 
First up is a yummy 7-layer Re fried Bean Dip.


And this is the Buffalo Chicken Dip that I posted earlier today.

Both of these dishes are huge hits at any party I have! Enjoy!

Cheesey, Pineappley, Super BLT with Fries


It is rare - if ever - that I prepare any type of recipe which could be classed as junk food, either to be published on this blog or anywhere else. I have always believed, however, that the BLT is very unfairly treated in being classed as junk food and that, in theory at least, it is and can be a fairly healthy concoction. The idea for this adaptation of the BLT to a higher level came about one night very recently when I was enjoying a gammon steak with pineapple. I was delighted the way this recipe turned out and I hope that you will try it some time soon.


Preparing the French Fries

I am aware that the way in which I prepare French fries - or British chips - is fairly time consuming and that not everyone will have the luxury of being able to emulate this method. If time does permit, I would urge that you try them this way, but if not, a more traditional cooking method will of course suffice.

In simple terms, I firstly peel the potatoes and then slice and chop them in to French fry shapes. I then add them to a pan of cold, lightly salted water and put them on to a high heat. When the water starts to boil, I reduce the heat to achieve a gentle simmer and allow the fries to simmer for five minutes only.

(Tip - Using a wire basket more associated with a deep fryer, as in the image above, allows the parboiled fries to simply be lifted from the hot water rather than drained. This means that they are less likely to break.)

The fries should be lifted from the water, covered and allowed to cool. They should then be placed in a tupperware dish and refrigerated for at least one hour. After this time, they should be very carefully dried with kitchen towel before being fried in moderately hot oil for five minutes. They should again be drained, cooled and refrigerated for at least one hour.

The fries should be fried for the second and final time in slightly hotter oil at the stage below where the bacon has been put on to cook.


Preparing the BLT

It is important that all of the individual elements for the BLT be prepared in full prior to starting cooking. You will not have a great deal of time between the various stages of this procedure and lack of forward planning could cause significant problems.

Per BLT, you will require:

1 large, soft bread roll (no sugar and salt saturated burger buns!)
2 rashers/slices of bacon
2 leaves of Little Gem or other small lettuce variety
1 slice of beef tomato (approx. 1/2" thick)
1 pineapple ring
1 oz grated cheddar or other hard cheese
2 basil leaves
Freshly ground black pepper


The first step is clearly to cook the bacon. Note that I have used Ayrshire middle bacon in this instance. This bacon is rolled and sliced, rather than cut in to rashers, though traditional bacon will of course work just as well. I have also on this occasion gently fried the bacon in a dry, non-stick pan. The fat of the bacon will melt on an initially very low heat and no other fat or oil is required. The bacon can of course also be grilled for an even healthier effect.

When the bacon is almost ready, the bread roll should be halved and very lightly toasted under a hot overhead grill.


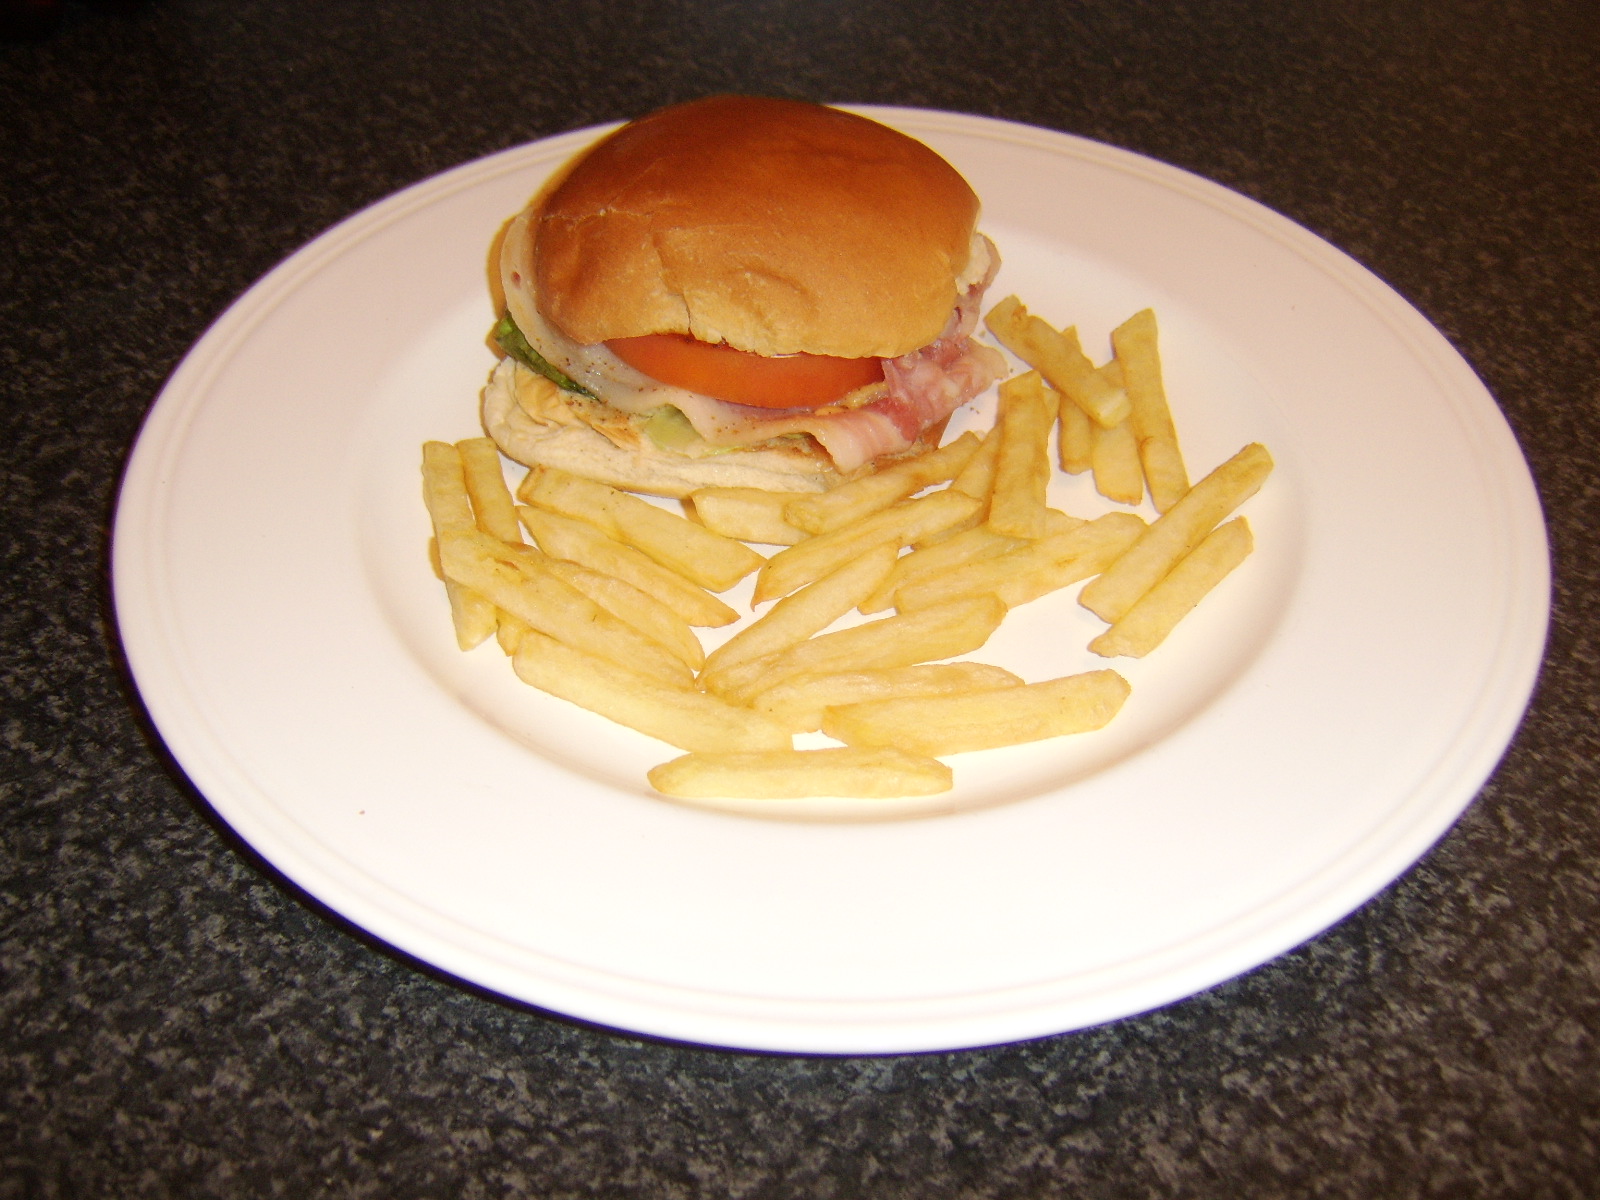
The first stage of assembling this cheesey, pineappley BLT is to place the lettuce leaves on the bottom of the bun. The bacon should be gently shaken to remove as much of the fat as possible before being laid on top of the lettuce. The slice of tomato goes on next, to effectively complete what would be a traditional BLT.


The pineapple ring should then be placed on top of the tomato. Note that this pineapple ring did come from a can but was canned in pineapple juice and not syrup. The basil leaves are quickly torn and scattered over the pineapple.


The cheese is the final addition before the bottom half of the BLT goes back under the hot grill. Pressing the cheese down lightly when it is added will help to prevent it slipping off as it is put under the grill. When the cheese begins to bubble, the roll should be plated, given a final seasoning with black pepper only (the bacon will provide sufficient saltiness) and served with the French fries, either open as at the top of this post or closed as below.

There's Potential Here


I'm not sure whether I've mentioned this before, but I'm not a huge fan of chicken. I'll eat it IN other dishes, cut up in soups or salads and I do love a good chicken parm, but grilled/roasted/pan fried chicken breasts with some seasoning or sauce...meh. I just find it so bland most of the time. I'm more of a red meat girl. Same thing with roast chickens. I've always had this underlying feeling that a really good roast chicken recipe will transform the dish and make me have a "where have you been all my life" revelation*. The problem is that no matter how good the recipe seems to be, it's still well...chicken. Bo-ring. Unfortunately Adam doesn't feel the same way. He could eat happily eat it every night of the week and tends to get cranky when I go on my carb, beef or pork-induced cooking binges. So occasionally I'll try out a new recipe searching for that "aha!" moment.

I'm not saying that this recipe is "the one", but it's the first time in a pretty long time that I've actually finished a whole chicken thigh. I know, not a huge accomplishment but for me that's a big deal so this recipe is getting a thumbs up.

I'll admit that it wasn't exactly perfect...I may have slightly burned the chicken. I had my suspicions about it, as in my experience ten minutes on medium-high heat equal charred chicken. But so many recipes said to leave the chicken on the stove for up to 25 minutes that I figured there must be something I didn't know. So I tried it...and my chicken did not look like the photos. But even so it was really really good! The seasonings were perfect and added just the right amount of flavour to make it interesting, and the meat was perfectly cooked (yeah yeah, aside from the char). I did read in the reviews that some used the remaining marinade to make a sauce which I might try next time, but we were perfectly happy without it.

*Similar to the one that Adam had with Pocky this week...I believe the exact quote was: "We have to get more of these. Why have you been keeping them from me for the last nine years??"


Note: It was really really hard to find pictures here that didn't look completely unedible. I SWEAR this chicken is good, just try to ignore the burnt bits...Adam's comment on the photo above was "it kind of looks like a picture of an oil spill where the birds are struggling to get out"

Crispy Chicken Under a Brick
1 whole (3 pound) chicken
3/4 cup olive oil
1 lemon, juiced and zested
1 tsp cumin
1 tsp curry powder
1 tbsp brown sugar
1 tsp minced garlic
2 springs fresh rosemary
Salt and pepper to taste

1. Remove the backbone and split the chicken in half.

2. Mix together 1/2-cup olive oil, lemon juice and zest, cumin, curry, brown sugar, and garlic. Pour mixture into a freezer bag with chicken inside. Throw in the rosemary springs and marinate the chicken in the mixture for at least 1 hour (I actually left it for a day because we ended up making this the next night instead)

3. Place an ovenproof skillet, preferably cast iron, over medium-high heat for about 3 minutes. Put the remaining 1/4-cup olive oil into the hot skillet (or just enough to cover the skillet) and wait 1 minute for it to heat up. Reduce heat to medium (I did not do this, but I would next time to avoid the blackened chicken)

4. Remove the chicken from the marinade and season all over with salt and pepper. Place the chicken halves in the skillet, skin side down. Wrap 2 bricks in aluminum foil and set them on top of the chicken, or if you don't have bricks cover the bottom of a dutch oven, add a few cans and cover with the lid for added weight.

5. Cook on the stovetop for 10 minutes. Now you might want to check your chicken before this, but if you're cooking on medium heat than you might be okay. Either way I'll probably check my chicken sooner next time. Once the chicken is nicely browned and crispy, remove the bricks/dutch oven, carefully flip over and transfer the skillet to a preheated 450 degree F oven. Roast for about 20-25 minutes, until cooked through. Remove from pan and enjoy!

Recipe of the Week - Football Special!!


Don't forget to check back tomorrow, for the start of our first GIVEAWAY!!  It is a coupon to Bed, Bath & Beyond. 

I love the month of September! The leaves start to change, the weather is perfect, I start back to work with my kids at school, I break out my sweaters but can still wear flip-flops, and Football season starts!! It's a great month to have birthday in! :)  With the beginning of football season brings all the delicious football foods. So today, in honor of the start of football, I have a recipe that will be a huge hit for a party or just yourself and family! I got this recipe from an ex-coworker of mine, Melissa. She is a great cook as well!


Buffalo Chicken Dip

3 large cans of Chicken Breast, drained
2 - 8 oz. pkgs. Cream Cheese
1 cup Ranch Dressing
3/4 cup Frank's Red Hot Sauce or to taste (this brand of hot sauce is essential to the correct taste, most stores carry it).
Shredded Cheese

 Mix ingredients together. Bake is a 9x13 pan at 400 degrees for 15 minutes, stirring once. Remove and sprinkle with shredded cheese on top at once, so it will melt. Serve warm.

I am making this today for our football party so pictures to come this evening!

Be sure to link up below with your recipes!!

Enjoy and happy cooking and football season!!