Wednesday, April 6, 2011

OT Tip - What is OT? Series + Giveaway!

April is Occupational Therapy month! In honor of that I thought I would do a OT Tip series on what is Occupational Therapy and highlight some of the areas of practice that OT works in. I will also be hosting some special giveaways this month in honor of Autism Awareness and Occupational Therapy month. Check out my giveaway button on the left hand side of my blog and get the word out!

So before we get into what Occupational Therapists and Occupational Therapy Assistants do in different fields, what is Occupational Therapy?

The American Occupational Therapy Association describes OT as follows:
  • In its simplest terms, occupational therapists and occupational therapy assistants help people across the lifespan participate in the things they want and need to do through the therapeutic use of everyday activities (occupations). Common occupational therapy interventions include helping children with disabilities to participate fully in school and social situations, helping people recovering from injury to regain skills, and providing supports for older adults experiencing physical and cognitive changes. 
A term you will hear a lot with OT is Activities of Daily Living or ADL. This terms refers to any task or skill that a person needs to complete as part of their daily routine. Things such as bathing, toileting, cooking, cleaning, driving, and hobbies are things that Occupational Therapy professionals help their clients to either relearn or increase their strength in order to complete these skills again.

Areas that you will see Occupational Therapy professionals in are:
  • Hospitals (acute and inpatient rehab) 
  • Out-patient therapy centers (including hand therapy)
  • Schools 
  • Early Intervention (birth to 3)
  • Nursing rehabilitation centers
  • Mental health hospitals and centers
  • Hippo-therapy (Using horses to increase better body mechanics and balance).
The next 3 weeks we will be taking a look at 3 of these areas a little more closely. My hope is that you will learn something new about OT and realize that there are many areas that we work in, helping people to regain their independence in life!


Now, the part you have been waiting for, the first giveaway of this month! All of the items for the giveaways for this month, I bought personally from The Therapy Shoppe. I was not asked by Therapy Shoppe to review any of their products and I did not receive any monetary compensation for this giveaway. I love this site and I buy things from here a lot for my work with kids. All of the giveaways this month are geared for children and Autism.

These are the two items 1 winner will receive:


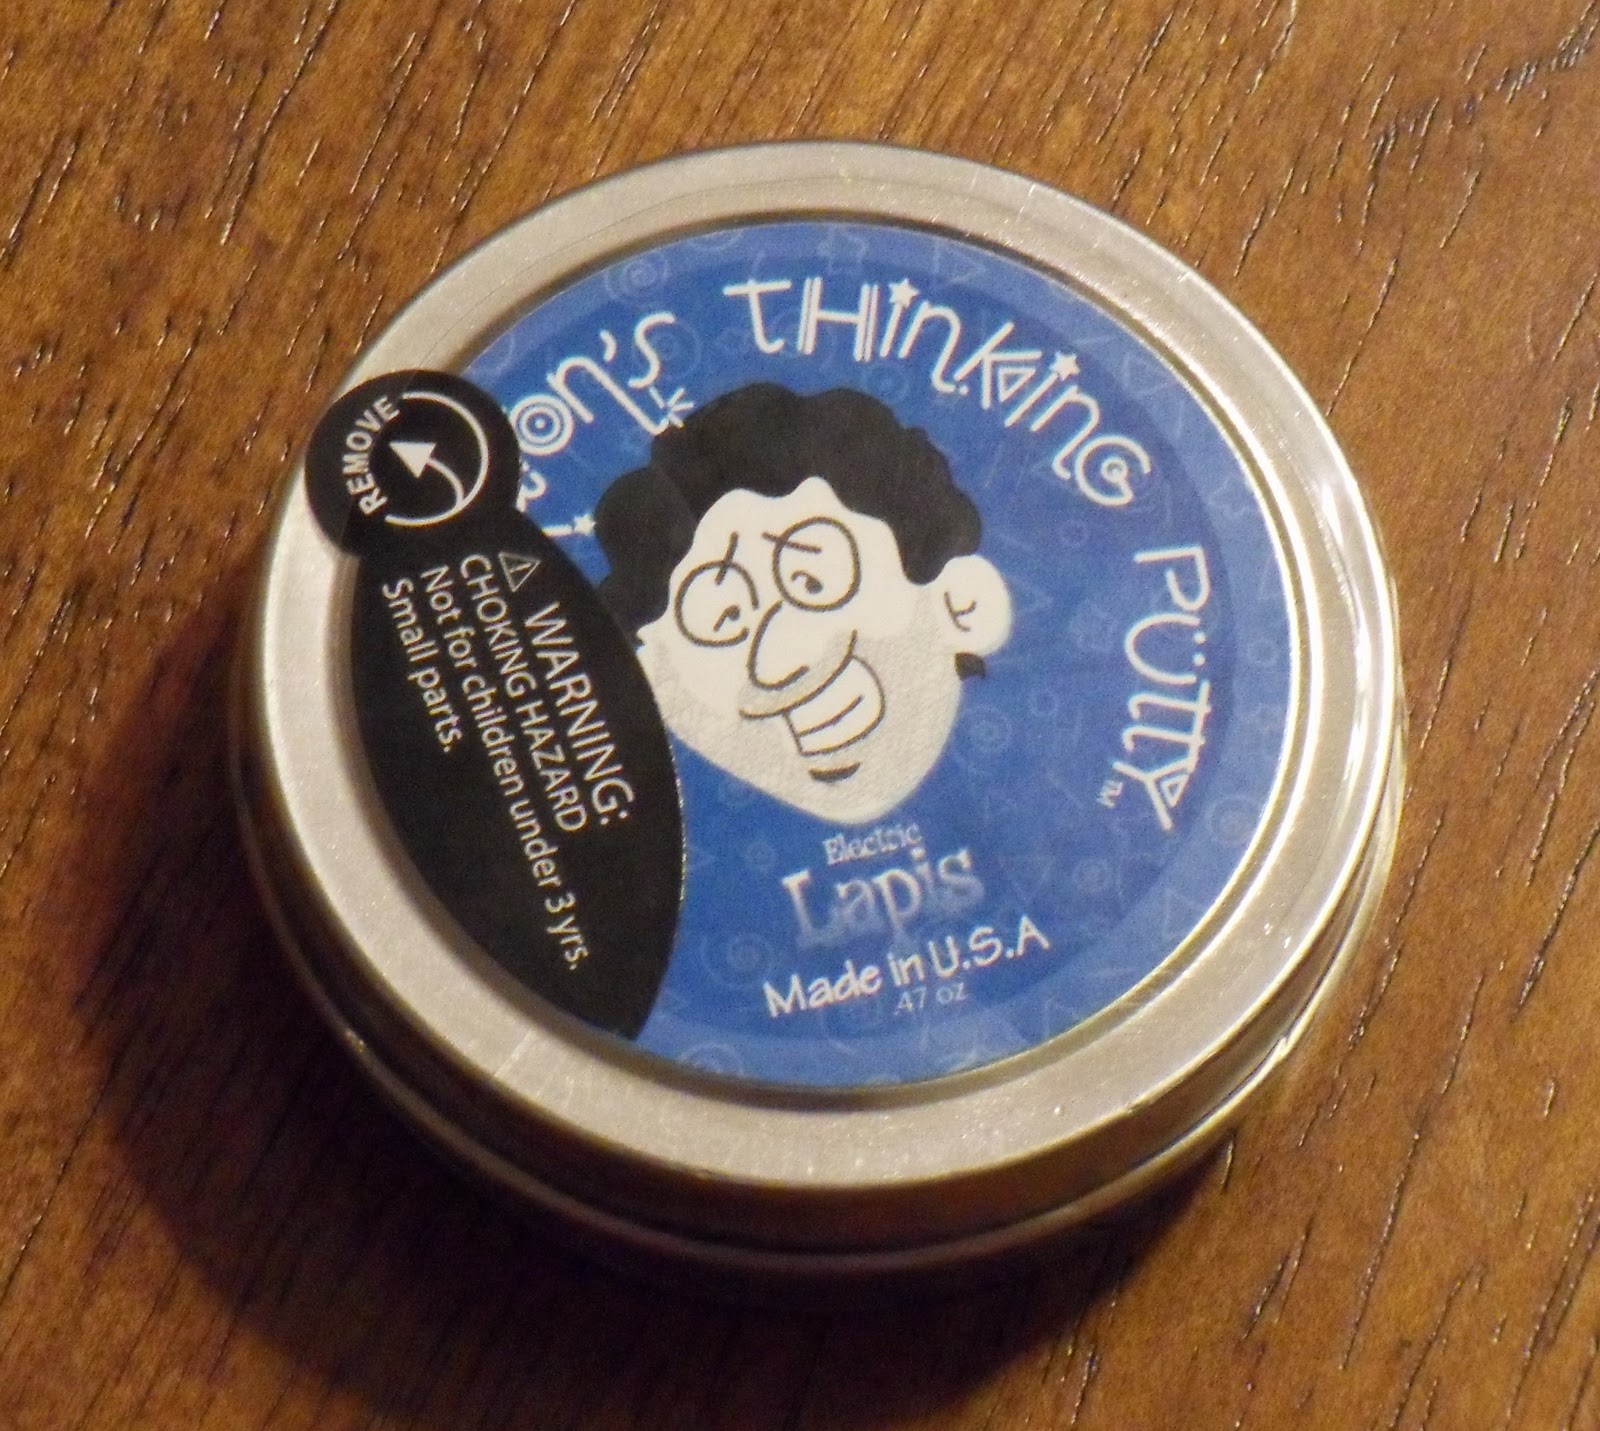
Thinking Putty and 10 Flip Crayons.

The thinking putty is a great finger warm up exercise to have your child do before writing or any fine motor task such a coloring or cutting. The flip crayons are great for younger children who are learning to hold a writing utensil. The small size forces them to use the correct grasp when coloring. Also two colors on one crayon means less space you are taking up for storage!


Here is how to enter the giveaway...

Main Entry:
  • Just leave a comment with a valid e-mail address. It's that easy! If you do not include a valid e-mail in your comment, your comment will not be counted.

Extra Entries:
  • Follow Golden Reflections through Google Friend Connect. If you already do, just leave a comment that you already follow. (1 comment, 1 entry) 
  • Subscribe to Golden Reflections through e-mail, on the right side of the site. You must validate your e-mail subscription to count. (2 comments, 2 entries) 
  • Vote for Golden Reflections on Picket Fence Blogs. (1 comment, 1 entry) 
  • Follow Golden Reflections on twitter. (1 comment, 1 entry) 
  • Tweet about this giveaway (1 comment, 1 entry) 
    • TherapyShoppe #Giveaway @goldenreflect Ends 4/12 at 11:59pm 
Giveaway ends Tuesday, April 12 at 11:59pm. A winner will be chosen via random.org. Winner's entry will be validated before a winner is announced. If the winner does not have a valid entry, a new winner will be chosen by random.org.

Good luck to everyone!

Disclaimer: I am a Certified Occupational Therapy Assistant. The advise in these tips is not a replacement for medical advise from a physician or your pediatrician. Please consult their advice if you suspect any medical or developmental issues with your child

BAGHARE BAIGAN


Ingredients:
Small brinjals ...........1/2 kilo
Onion ........... 1
Poppy seeds .........1tbsp.
Sesame seeds ...... 1tbsp.
Dessicated coconut .. 1 tbsp.
Dry red chillies ... 2-3
Cumin seeds ....... 1tsp.
Coriander seeds.... 1tsp.
Cloves ...................3-4
Cardamoms ..........3-4
Peanuts ................. handful
Yogurt ...................1/2 cup
Turmeric powder ...1/2 tsp.
Salt ...to taste
Tamarind juice .....1-2 tbsp.
Tomato ketchup .... 1tbsp.
Oil

For tempering:
Mustard seeds .....1 tbsp.
Asafoetida ....a pinch
Curry leaves .... a sprig
Dry red chillies ....... 2

Method:
1. Give a slit to the brinjals and put them in water to which a tbsp. of salt is added.
2. Deep fry the brijals.
3. Fry the onion to golden brown colour, cook for a few minutes adding a little water. Blend it.
4. Dry roast the poppy seeds, sesame seeds, coconut, cumin seeds, coriander seeds, red chillies, peanuts,cloves and cardamoms. Grind them to a paste addding little water.
5. In a pan put oil and add the tempering. Then add the onion paste, salt and turmeric powder.
6. Mix the ground masala paste with yogurt and add it to the onion paste. Also mix in the tamarind juice and tomato ketchup. Add half cup water to make gravy.
7. Now put the fried brinjals into the masala and simmer for a few minutes.

A Little More Lee

Perhaps you read my posts back in February when I wrote about “re-discovering” some of my old Lee Bailey retro cookbooks.

http://nevertrustaskinnycook1.blogspot.com/2011/02/hot-soup-on-warm-night.html

http://nevertrustaskinnycook1.blogspot.com/2011/02/betcha-cant-eat-just-one.html

One of my (very observant) friends read those posts also, and when I saw him shortly thereafter, he surprised me with a copy of Lee Bailey’s “Cooking for Friends.” He had noticed from the pictures I posted that this book was missing from my collection, so he (very thoughtfully) went out and bought it for me. Now, that’s what I call a friend – thanks, Kenn!


Oh, and at least I now know that someone reads this blog!

As I read through this newest acquistion, I made note of several recipes I wanted to test, including one that called for yeast in the cake batter. More about that shortly.

Fast forward to this past weekend. It was springtime in Atlanta and I was in one of those “I want to bake” moods. What I wanted to bake was a recipe in my arsenal for Rhubarb-Ginger Cream Cheese Bars (you’re welcome, Henry) but alas, there was no rhubarb to be found. Guess it’s still too early, so I had to go back to the drawing board. That’s when I remembered Lee Bailey’s Gateau Norman and those Granny Smith apples I had recently purchased.

The recipe piqued my interest because it called for yeast, but not in the normal way of proofing it, letting it rise, etc.  Uh-uh, it just called for it to be dumped into the mixture and incorporated without any thought of rising or temperatures between 105 – 115-degrees. Really?

At the end of the day, it was something like a clafouti with a richer “crust.” Suffice it to say Henry liked it. So did I.


GATEAU NORMAN (Adapted from Lee Bailey’s “Cooking with Friends”)

3 tart apples (I used Granny Smiths), peeled, cored and quartered
2 tablespoons lemon juice
1 tablespoon grated lemon rind
¾ cup all-purpose, unbleached flour
2/3 cup sugar, divided
Pinch of salt
½ cup milk
2 tablespoons vegetable oil (I used canola)
½ package active, dry yeast
6 tablespoons unsalted butter, melted
1 egg, lightly beaten (I used extra-large)
Softly whipped cream or good vanilla ice cream for serving

Preheat oven to 350-degrees. Butter a 10-inch tart pan and set aside.

Place quartered apples in a small bowl and toss with 1 tablespoon of the lemon juice.

In a medium bowl, whisk together the flour and 1/3 cup of the sugar. Stir in the salt, milk, vegetable oil, reserved lemon juice and lemon rind. Sprinkle the yeast over and stir to blend well. Spoon into the prepared pan and arrange apple quarters over, rounded side up.

Combine remaining sugar, melted butter and egg. Spoon this over the apples in the pan. Place into oven and bake until apples are tender and cake is puffy and lightly browned, about 40 – 45 minutes.

Remove from oven and let cool slightly. Serve with softly whipped cream or vanilla ice cream.

Serves 6 – 8


• Lee served this for breakfast. (Good call, I say. I could eat this for breakfast in lieu of leftovers any day of the week).  Dammit, Lee, why wasn't I one of your good friends?  We would have had SO much in common!

• Of course, this is also pretty good as a simple dessert. It’s not overly sweet and it’s not heavy. If serving as dessert, however, I would recommend adorning it with some softly whipped cream or a scoop of good vanilla ice cream. If you are lazy like me, then a drizzle of heavy cream over the top will suffice quite nicely.

• I will also tell you that this is better served warm. If you need to bake it ahead, have at it. Just cover it with aluminum foil and rewarm in a 350-degree oven for about 10 minutes before serving.

That's it for now.  It was a good spring weekend here in the ATL and we walked our usual 10 miles today.  Anything in my quest to become a skinny cook you can trust.  Haha, that is SO not happening, but at least I try.  Here's to another carb-less week ahead for me.  Cheers!

Lemon and Garlic Roasted Sardines with Potatoes


After a salmon treat, here's a no less delicious recipe using a much looked down upon fish--the cheap sardine. Yes, sardines! Those cheap little oily fishes are rich in the same omega3 fats that we celebrate the salmon for. And have I mentioned how cheap they are?

A lot of people find them overpowering, but a bit of garlic lemon and fresh herbs will definitely get rid of any "smell", although I find it not so much a problem with fresh fish. I decided to roast the sardines whole, on a bed of potatoes because I like how pretty and impressive they look. I know many people cannot stand the idea of having the fish still staring at you on your dinner plate, but I'm absolutely fine with it. Maybe it's because I grew up in a household where my Chinese mum would often steam a whole fresh fish for dinner. Or maybe I'm just weird.

Lemon and Garlic Roasted Sardines with Potatoes
Ingredients
serves 1-2
2 sardines, whole
1 large baking potato, chopped into large chunks
3 cloves of garlic, smashed but skin on
1 lemon (1/2 cut into wedges, 1/2 reserved)
couple of sprigs of thyme
sea salt, black pepper (to taste, but be generous)
extra virgin olive oil

Method
1. Pre-heat oven to 180 degrees celsius.
2. Parboil the potatoes in salted water for about 5 min, then drain well and give them a good shake to bash them up so you get crispy skins later. Arrange the potatoes in an even layer on a greased oven proof dish, season and drizzle with evoo, and place into the oven to roast for 45 minutes.
3. Meanwhile, remove the gills and insides from the sardines by cutting from just beneath the head down the belly. Wash under running water and rub the sardines all over to remove the blood and scales. Pat dry and season with salt and pepper.
4. 10 min before your potatoes are ready, remove, turn up the heat to 200 degrees celsius.
5. Place the sardines over and scatter the garlic thyme and the lemon wedges around. Squeeze the juice of half a lemon over. Return to oven and roast for 10 more min till the sardines are just cooked. You can also change to broil setting for the last few minutes to get a lightly charred, crispier skin!

sardines before roasting (they look so cute, all wide-eyed and innocent)

sardines after roasting (I'm sorry, but yum)

The garlic and thyme really give the roasted sardines a mouthwatering aroma, and the lemons help to cut the richness of the sardines, so I can safely assure you there is no more horrible fishy smell. Option: You can also grill sardines whole if you have a barbeque, a fantastic option as the weather starts getting warmer (yay).

By the way, sardines are full of little bones that you can eat and that are actually good for you because they're full of calcium. Usually I have no problems eating the little bones in canned fish, but I find them quite irritating in sardines :( I'll find a way to get all these bones out for my next sardine adventure.

I'm off to Romania for 5 days! My favourite bit about planning for this trip (as with all trips) is the food research hee hee. Romania's supposedly a place that's not yet overflowing with processed food, instead being full of traditional meaty stews and vegetables! approve. anyway, will be back to blogging next week! (:


A New Chapter begins with Spring part 4

I hope you are enjoying the farm and gardening posts, as this is one of the directions I wanted my Good Food Revolution to go in , don't worry I'll still be creating new dishes, and posting food pix and recipes.   Ill just be going a little further and showing you where all that yummy food comes from , and no its not a grocery store :)) lol   Enjoy the final post .. although this is not the end, rather a new beginning !!

Two of my re-purposed cold frames are going to be part of another little experiment .. they have warmed the ground enough that i can actually dig it up ... so I'm going to plant a few of the onions that sprouted in my pantry over winter.  

One week in , and the lettuce is showing some life !!  

One, two three everyone raise you bum in the air !! Hahahaha 

Trying some onions from seed for the first time..  One week in  

Same in the 80x20 green house..   this made my morning to see these had sprouted.  I didn't have the notes with me , but I think its spinach .  

That me! lol  ..  sure was thirsty work ,  I dug all that by hand with a shovel and fork.  

Off into the sunset I go !!!  

I hope you have enjoyed this post, and the previous three before it .. if you didn't  see them you can find them all here .   http://richfletchersgoodfoodrevolution.blogspot.com/search/label/growing%20your%20own%20food

How to survive on real food on a student budget


Baked beans--The sad symbol of student life?

I posted a salmon dish earlier, but it's not a fish I have often just because I am a student living on a budget and yet still opts for free-range eggs and meat and fish that's not farm raised and fed antibiotics. Yes, it is possible and I think I even spend less than the average student here actually.

Tip 1: Cut out your processed, packaged foods. They not only do nothing for your health, they rack up quite a sum of money in your grocery bill.

Tip 2: Get your groceries from the farmers' market. You get locally grown vegetables and fruits and happily raised animals, at pretty reasonable prices. Most of the stalls that aren't certified organic still keep to very good farming standards, just that they can't afford the organic certification.

Tip 3: Opt for the lesser cuts. I love using offal. They're actually richer in vitamins than the rest of the animal and so so cheap. I also love using the less popular cuts like the pork trotters and belly, which are so much more flavourful and become so meltingly tender when you slow-cook them.

Tip 4: Similar to tip 3, buy the less popular fishes. You not only help to prevent over-fishing so it's a more ethical choice, you get your dose of seafood and their omega3 fatty acids goodness for a much cheaper price! And there is nothing wrong with using canned fish, especially since you get extra calcium from eating the soft bones.

Tip 5: Look for what's on offer at the supermarkets. Most of what I cook is based on what's currently in season (and hence, on offer). That's fun also, because it forces me to get creative with what I have!

5,000

This is our 5,000th entry on The Scratching Post. We started on February 11, 2006 with this post.

The Scratching Post was started as an effort to make money. I was down on my luck to the point where it took me weeks to save up the $15 I needed to take a load of rubbish to the dump. Every last penny was precious.


I had free time in uneven increments, at strange hours and with a relatively unpredictable schedule. I had been reading blogs for a while, particularly IMAO, and figured I could give it a go. I posted for a while and built up links and then began hosting ads on the site.

Over about a year, I made $100 from Google and $50 or so from Pay Per Post. It worked out to something like a nickel an hour. I pulled the ads and stopped trying to make money. By then my financial situation had improved considerably and I no longer needed the money so desperately.

I kept blogging because the thing had gotten under my skin. It was a vehicle to explore and share and learn and rant. The blog became a ravenous beast, ever hungry for more information which was digested and turned into blog posts. Over the last 5 years, I've learned so much about so many different subjects all to feed the blog.


One of the most important things I've learned is how much I need you. I never felt I was writing for an empty room because you were there. You posted links to my site, you left comments or sometimes you just stopped by to look at a photo or two and wandered off silently. The hits and interactions kept me going, kept me learning, kept me looking for something new and interesting to post.

For Lent, Jacob's been doing a series of posts on things that make us smile. After five years, 5,000 posts and more than 430,000 hits, we've discovered that the biggest thing of all that makes us smile is you.

Thanks.

Priest's Beef and Onion Ragout

Otherwise known as Papaz Yahnisi: papaz means priest in Turkish and yahni is hot pot or ragout as Angie Mitchell lovingly translates it.


a yahni means lots of succulent tasty onions

I was hoping to burble on about the joys of spring but Istanbul has been cold, wet and miserable for days now.  That’s why when Daughter No 1 said she was going to drop by on her way back from a week away  and have supper with us, I thought  ahaha let me make this yahni that I have been dying to try.

I had a vague recollection of a Cornucopia magazine with a cookery corner dedicated to yahni so I rooted it out (No 37, 2007 if you’re interested). I was looking for a story about the priest, you see, and sure enough, there it was but originally connected to a fish yahni dating back to at least 1764 when Christian monks and priests ate it while abstaining from meat. According to Berrin Torolsan, there were  many different types of yahni: parsley yahni, chickpea yahni, garlic yahni as well as a beef yahni like this one. But the essence of all of them is onion. Lots of onion. Very often yahni are lamb- or mutton-based and the addition of vinegar or indeed lemon or sour pomegranate juice is to cut the fattiness and help tenderize the meat. I love the sound of one that was made with chestnuts, quinces, dried apricots and prunes as described by Fahriye Hanım in 1882 who wrote Ev Kadını (The Housewife). It sounds just up my street and I will definitely try it next winter.
Ingredients for Papaz Yahnisi according to Angie Mitchell’s recipe
Serves 6
1kg/2lb lean cubed beef (kuş başı)
4 tbsp plain white flour
Salt and pepper to taste
4 tbsp butter/margarine
500g/1lb peeled pearl onions or shallots (arpacık soğanı)
10 garlic cloves
3 tbsp wine vinegar (üzüm sirkesi)
2 tomatoes, diced
1 tsp sugar
1tsp ground allspice (yeni bahar)
1 tsp ground cinnamon (tarçin)
Chopped parsley for garnish
Method
·         Toss the cubed beef in seasoned flour*. Melt the butter and sauté the beef for 5 mins. Add the pearl onions and whole cloves of garlic and sauté everything together for a further 5 mins.


·         Add the vinegar, tomatoes, sugar, and spices. Stir well and then add 2 cups of boiling water. Cover and cook slowly on a low heat for 2 hours or until meat is tender.
·         Serve hot with rice, garnished with chopped parsley.


Tips
  1. *To toss meat in seasoned flour, just put the flour with S&P in a plastic bag. Add the meat and shake!
  2. The smell of the meat cooking with those spices and onions is divine! I loved Berrin Torolsan for saying that even though pearl onions are attractive and taste good, they are fiddly to prepare so regular onions cut into half-moons is perfectly acceptable.
  3. But if you decide to go with the pearl onions as I did, soaking them in boiling water for 10 mins helps enormously to peel them more easily.
I hope you like this dish as much as we did!  However Daughter No 1 reminded me gently that she has now become a vegetarian .....

dinner!

       Yahni ‘fed the Janissaries, it fed the poor, it nourished students and it sustained sultans’.

What more do you want?